|
Designing a Flyer with MS WordBegin by designing and planning your new project on a sheet of paper. Write down what is being advertised, what it is that you’re trying to convey to your prospective customers. What cleaning services do you provide? What separates you from the others? Always be sure to include your street address and phone number as well as email address and, should you have one, website address. It is always best to build your flyer from the outside in. If you intend for your flyer to have a outside border, be sure this is the first thing you add. Lesson 1: Adding a Border1. Once you have Word powered up, go to the top of your window and click Format > Borders and Shading.

The Borders and Shading box will pop up. You will see three tabs at the top of that box. Click on the Page Border tab. In this example, Box is selected in the Settings Column on the left, a basic line is selected in Style, Black is the Automatic Color, the Width we changed to 3 pt., and the Preview of your current selections is displayed in the right column. Once satisfied with your selections, click OK.

The following are just a few of the examples of available Border styles. Remember, you can change each border to a variety of widths and colors as well as choosing whether you want a Box, a Shadow or 3-D.

If you prefer something a bit more artsy for your page border, follow these instructions. Again, click Format > Border and the Borders and Shading box will pop up. You will see three tabs at the top of that box. Click on the Page Border tab. At the bottom of the box you will see a drop down box for Art. Drop that box down and select the border that you want to use. Then click the OK button. This will add a Art border to your flyer. 
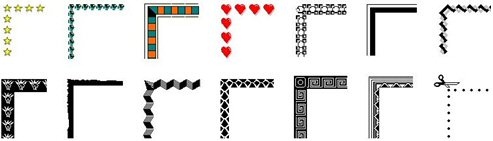
The following are just a few of the examples of available Art Border styles.
Lesson 2: Adding a Paragraph BorderI use Paragraph Borders a lot more than Page Borders. When using Paragraph Borders, make sure that you have some text already typed on the page in order to border it. In this example, I have typed-in my company’s name, centered it on the page, created a space above and below the text (optional), and highlighted the text as well as the space. 
The Borders and Shading box will pop up. You will see three tabs at the top of that box. Click on the Borders tab. I am selecting Box in the Setting column. In the Style column, a basic line is chosen, the Color choice will be dark gray, and the Width will be set a 6 point. Click OK.


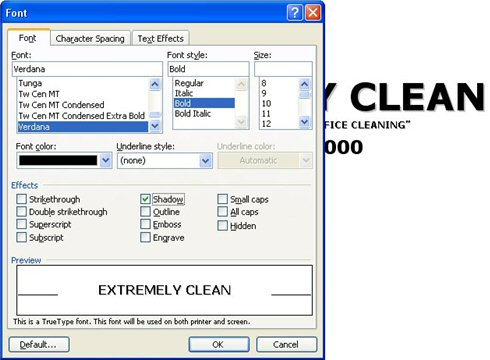
Lesson 3: Text ShadowsYou may have noticed that the text in the above box has an attractive shadow making it stand up on the page giving your flyer and documents a more professional look. Click Format > Font 
The Font box will pop up. You will see three tabs at the top of that box. Click on the Font tab. I am keeping the Font color black. In the Effects row, select Shadow. Before clicking OK, you have the opportunity to change other font characteristics, should you choose.
Lesson 4: Background ColorIf you want this…
To become this… 
Or this... 
Place the cursor anywhere within the paragraph box, select Format > Borders and Shading.
The Borders and Shading box will pop up. You will see three tabs at the top of that box. Click on the Shading tab on the right. I am selecting Blue from the color chart for this example. Click OK. If, however, you want more colors than what you see on the color chart, click the More Colors button. 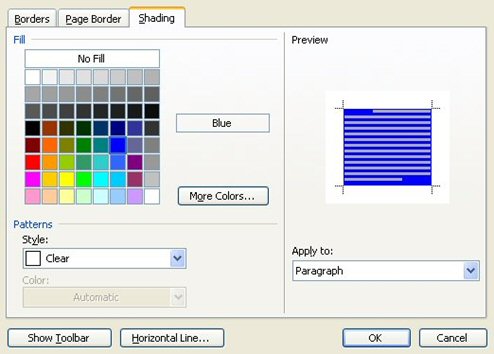

The text within the paragraph box will still remain black. You may keep this color or, should you feel it to be too dark as I did, change the text color to something brighter, like white. Simply highlight the text and change the Font color from the standard tool-bar above the page.
While I certainly don’t recommend that you use up all your printer ink to create a background color upon a white sheet of paper, if you’re curious to see how your flyer would look if printed on colored paper, select Format > Background. In this example, Pale Blue is selected. But I decided to use the Gradient tool behind Fill Effects creating the effect you see in the image on the left. Get to know the Fill Effect tools for a professional background look. But realize that you’ll probably need a printer service so as not to continuously and quickly empty your home print cartridges. Lesson 5: WordArt for your flyer headerIf you want your header, sub-header, even the basic text within your flyer to be more colorful, curvaceous or 3-dimensional, try WordArt. Select Insert> Picture> WordArt. 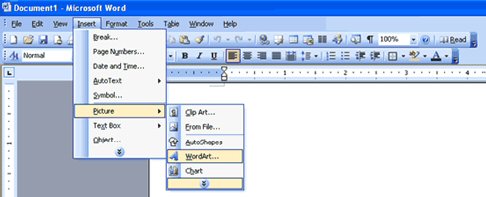
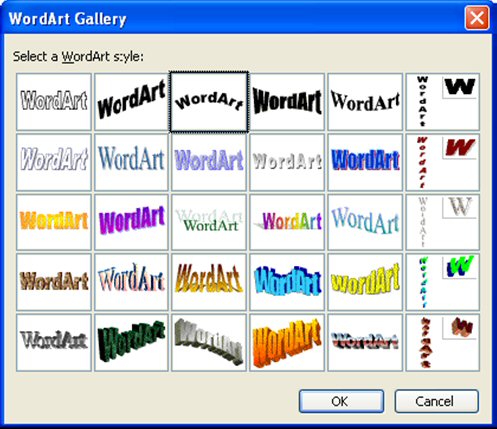
The WordArt Gallery will display in front of the blank page. Click on a style you like, then click OK.
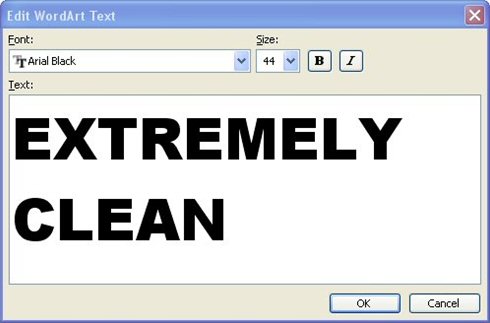
In the box that says “EDIT WORDART TEXT”, type-in your company’s name. For this demonstration I will use "EXTREMELY CLEAN" and then change font size to "44", then click OK.
Be sure to try a variety of styles from the WordArt Gallery:
|
 Page Background Color